Introduction
The previous two chapters have introduced the origin and features of flowforge, but not how to use it. Starting from this chapter, we will begin to introduce
its usage. This article mainly explains how to install flowforge on Windows systems.
Preparatory Environment
Installing flowforge on Windows systems requires Nodejs version 16 or higher,
and the Windows version should be 10 or 11.
Installation
Installation Steps
Step 1: Create a flowforge directory on the C drive,
Step 2: Download the latest version of the resource archive from https://github.com/flowforge/installer/releases/latest/download/flowforge-installer.zip
Step 3: Unzip the archive and copy its contents to the flowforge directory created in Step 1.
After copying, the contents are as follows. The current latest version is 1.4.0.
Step 4: Double-click to run the `install.bat` file in the `flowforge` directory to install all project dependencies. The process may take a while, so grab a coffee and wait patiently.
Step 5: After the installation is complete, double-click to run the `c:flowforgebinflowforge.bat` file.
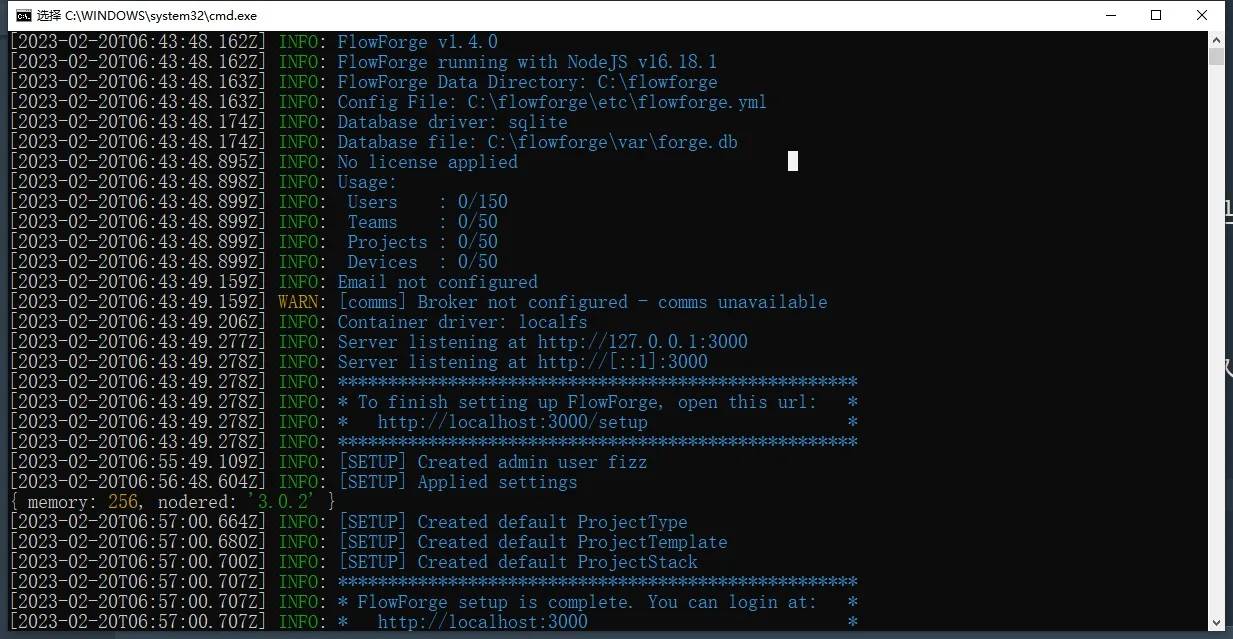
If everything went smoothly, you will see the following screen after running it:
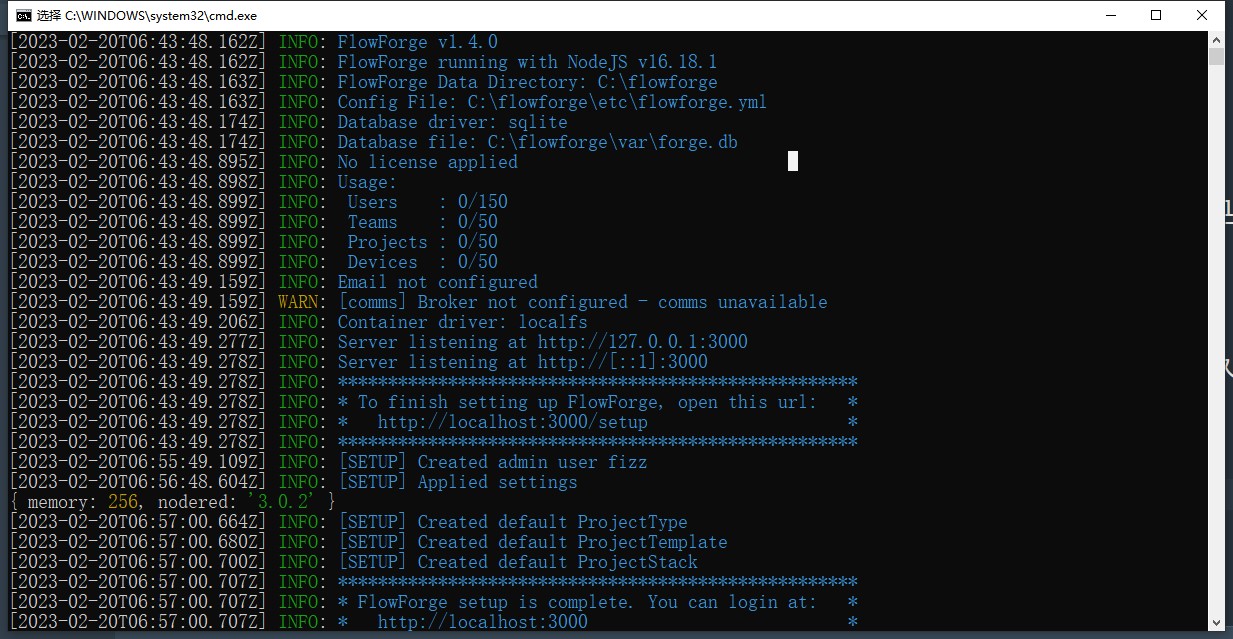
At this point, the service has been started normally. For the convenience of Windows users, the official team has encapsulated the project installation and startup into two bat files. It's quite considerate.
In addition, flowforge supports Docker, Linux, macOS, and k8s installations.
Based on the console output, we can see that the flowforge service access address is `http://127.0.0.1:3000`.
The subsequent articles will detail the startup configuration parameters.
Initial Settings
After the flowforge service is started, you can access the flowforge page by visiting `http://127.0.0.1:3000` with your browser.
The first visit will bring you to a page for application system settings.

Click the button to start setting up the administrator account.
After completing the information, click "Next"
If you have purchased the commercial version of the certificate, you can activate it here
Click to use the community version
After all settings are completed, you will see this page when logging into the system. This indicates that the system has been initialized and the login is successful.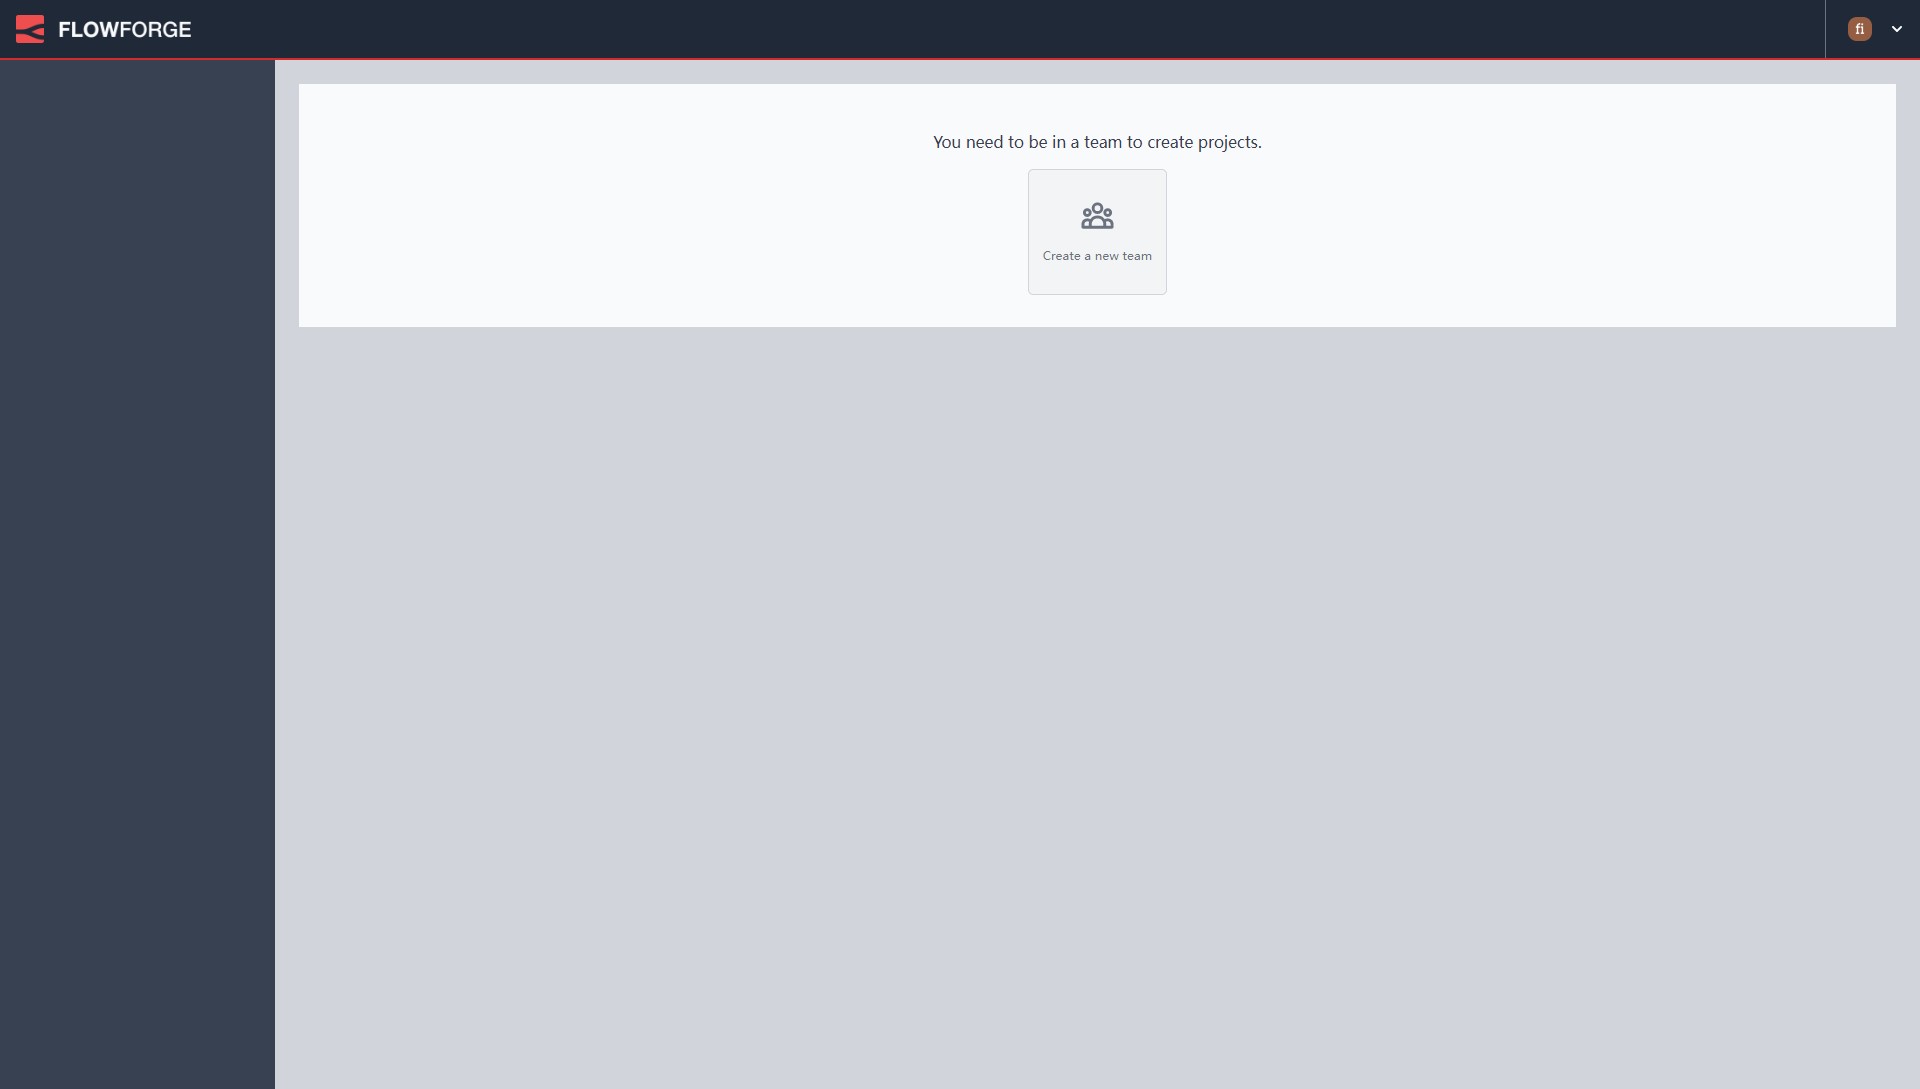
Summary
Overall, the first installation and registration went smoothly, just as smooth as when I was playing with node-red. More features will be explained later. Welcome to follow.


Leave a Reply