Introduction
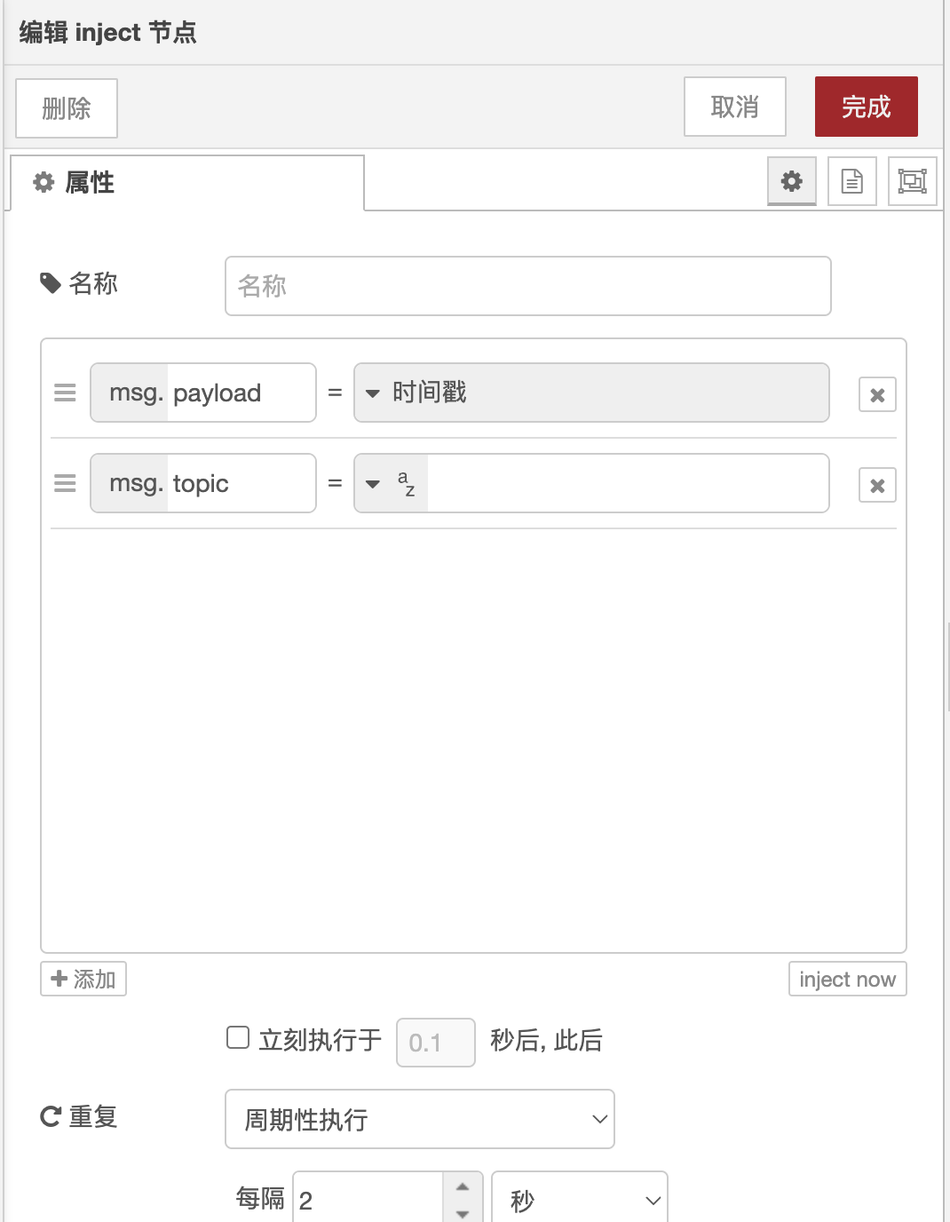
Recently, a reader asked me through a blog how to write the configuration page for a custom Node-RED node, which is the information pop-up window that we usually see when opening a two-node configuration. As shown below:
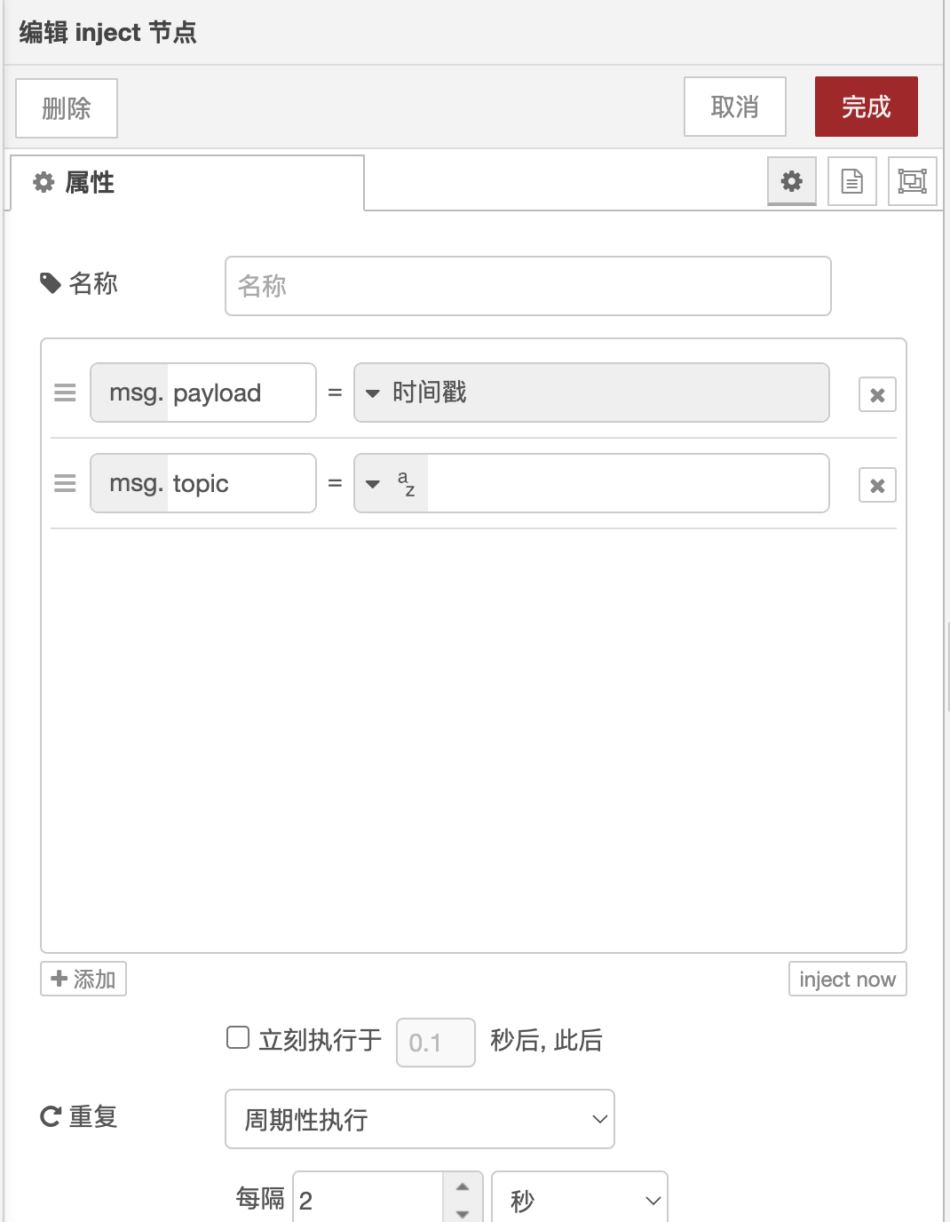
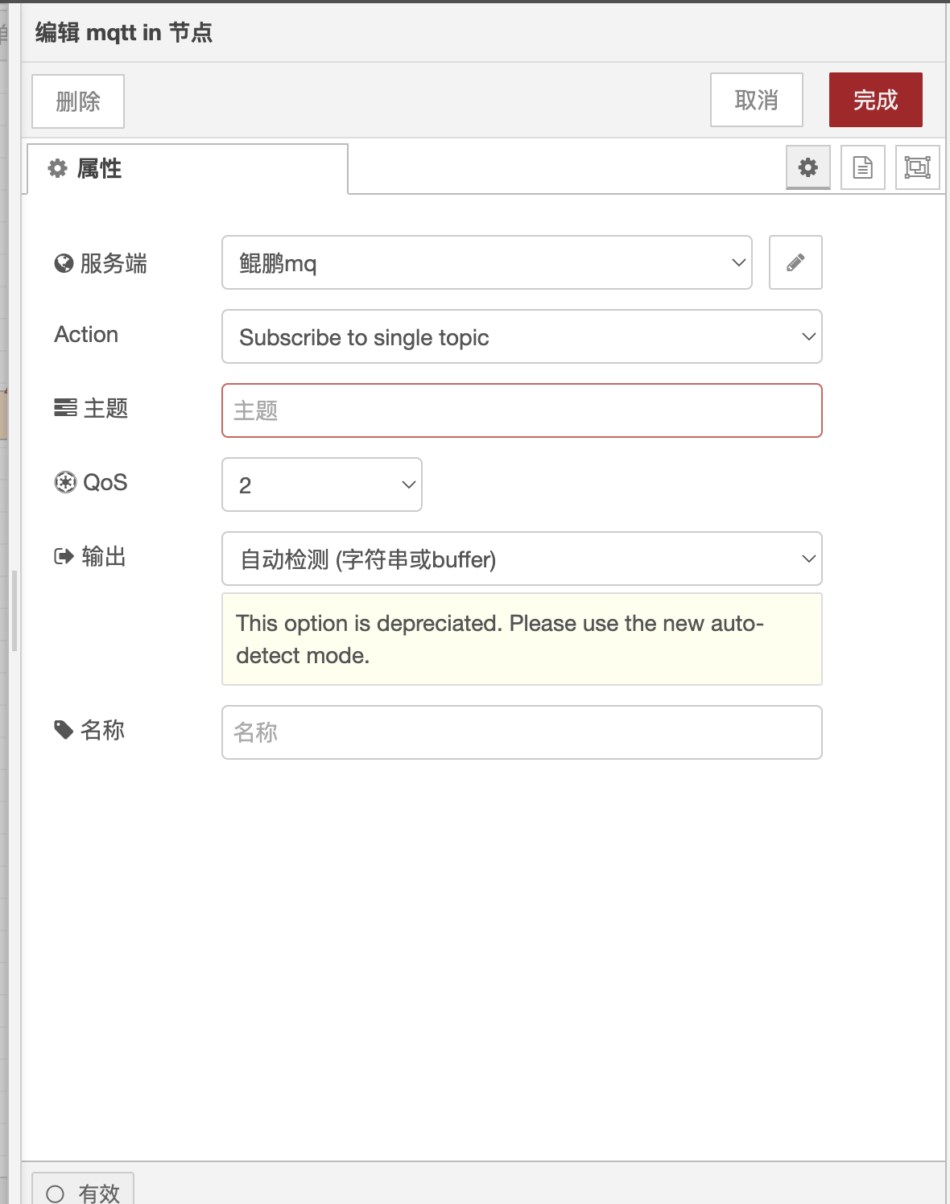
The above two images show the configuration pop-up windows for the inject node and the MQTT in node.
In the pop-up window, besides the buttons such as "Delete", "Cancel", and "Finish" at the top, and the "Invalid" button at the bottom,
the middle part needs to be written by the developer.
You need to decide what buttons, input boxes, and text fields are needed.
The node configuration pop-up window is the main way for users to configure and modify node configuration data.
Next, I will teach you how to write this part of the page.
The configuration pop-up window is written in the node's HTML file and should be written in
<script type="text/html" data-template-name="node-type">
    <!-- edit dialog content  -->
</script>
Note that the type attribute of the script tag must be configured as "text/html", which helps the editor highlight and recognize JS syntax.
The tag should also include the "data-template-name" attribute to indicate which node type the script is applied to.
You can write HTML here,
Below:
<div class="form-row">
    <label for="node-input-name"><i class="fa fa-tag"></i> Name</label>
    <input type="text" id="node-input-name" placeholder="Name">
</div>
Above is an input box for entering a name. Some classes can be directly used from the official library, such as form-row, which creates a block-level element to display information row by row.
In addition to developers writing their own CSS and HTML, node-red also provides some standard components for everyone to use.
Using them to write node configuration pop-ups will make them more beautiful, simple, and in line with the overall style of node-red.
Let's take a look together.
Button
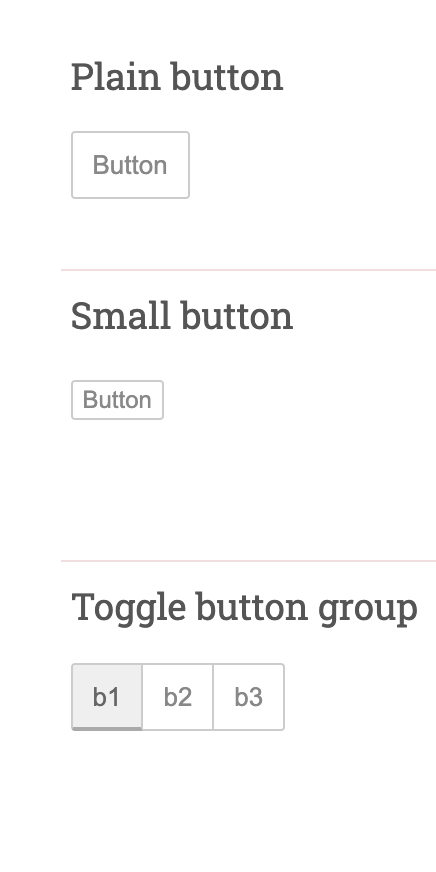
Since buttons are often used, the official library provides a standard set of button components.
You can use it like this
<button type="button" class="red-ui-button">Button</button>
<button type="button" class="red-ui-button red-ui-button-small">Button</button>
<span class="button-group">
<button type="button" class="red-ui-button toggle selected my-button-group">b1</button><button type="button" class="red-ui-button toggle my-button-group">b2</button><button type="button" class="red-ui-button toggle my-button-group">b3</button>
</span>
The above code displays a button
input box
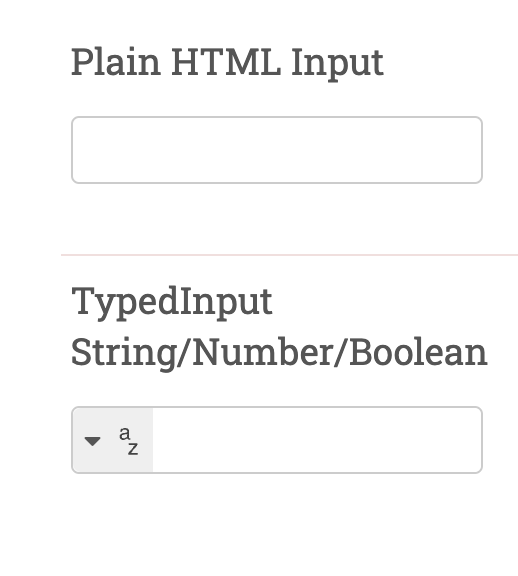
If you want to use an input box, you can look at the official provided examples
Plain HTML Input
<input type="text" id="node-input-name">

TypedInput
String/Number/Boolean
<input type="text" id="node-input-example1">
<input type="hidden" id="node-input-example1-type">

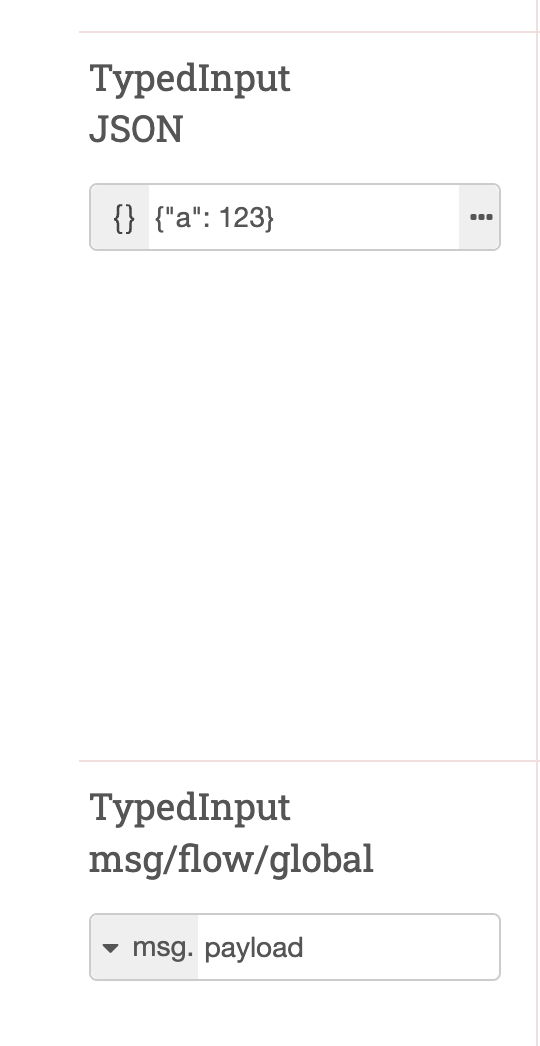
TypedInput
JSON
<input type="text" id="node-input-example2">

TypedInput
msg/flow/global
<input type="text" id="node-input-example3">
<input type="hidden" id="node-input-example3-type">
If you want to use a selection box
<input type="text" id="node-input-example5">
$("#node-input-example5").typedInput({
    types: [
        {
            value: "fruit",
            multiple: "true",
            options: [
                { value: "apple", label: "Apple"},
                { value: "banana", label: "Banana"},
                { value: "cherry", label: "Cherry"},
            ]
        }
    ]
})
It will appear like this.
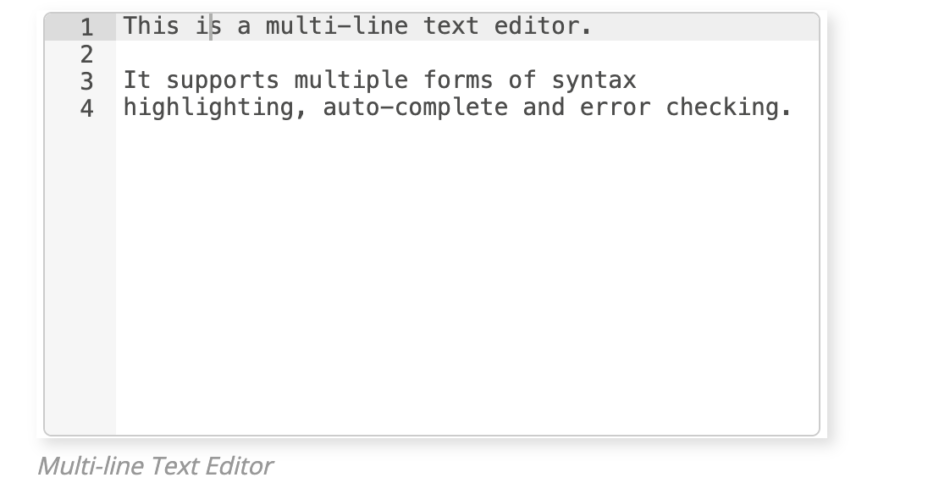
Multi-line text field
In Node-RED, multi-line text fields actually use code editors, such as Monaco or Ace.
You can use it like this.
<div style="height: 250px; min-height:150px;" class="node-text-editor" id="node-input-example-editor"></div>
// 使用RED.editor.createEditor 方法创建编辑器,
this.editor = RED.editor.createEditor({
   id: 'node-input-example-editor',
   mode: 'ace/mode/text',
   value: this.exampleText
});
// 在保存或取消时,销毁无用的对象,释放资源
oneditsave: function() {
    this.exampleText = this.editor.getValue();
    this.editor.destroy();
    delete this.editor;
},
oneditcancel: function() {
    this.editor.destroy();
    delete this.editor;
},
Editor effect
Summary
The custom node functionality provided by Node-RED allows us to freely create various nodes to meet our own needs.
A reader previously mentioned that they wanted to build a live conference system in Node-RED, and I greatly admire their creativity.
To develop useful nodes faster and better, we need to lay a solid foundation. Just like building a skyscraper, we must first lay a strong foundation. Have you learned it?
Markdown 2920 words 130 lines Current line 129, current column 36 Article saved at 18:18:05


请问怎么赋值数据到form里面呢