
The instrument pointer simulates a traditional mechanical dashboard, dynamically reflecting the process variable through the position of the rotating pointer on the dial. The "pointer gauge" visual sensation in the industrial field is most easily accepted by operators.
1. Attribute Introduction
1.1 Function Settings
| Attributes | Description |
|---|---|
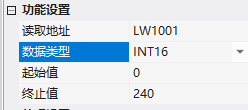
| Read Address | Value is the rotation angle of the pointer |
| Data Type | UINT16/INT16/UINT32/INT32/UINT64/INT64/FLOAT/DOUBLE |
| Starting Value/Ending Value | Pointer Range |
1.2 Appearance Settings (Key)
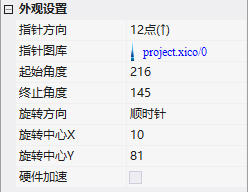
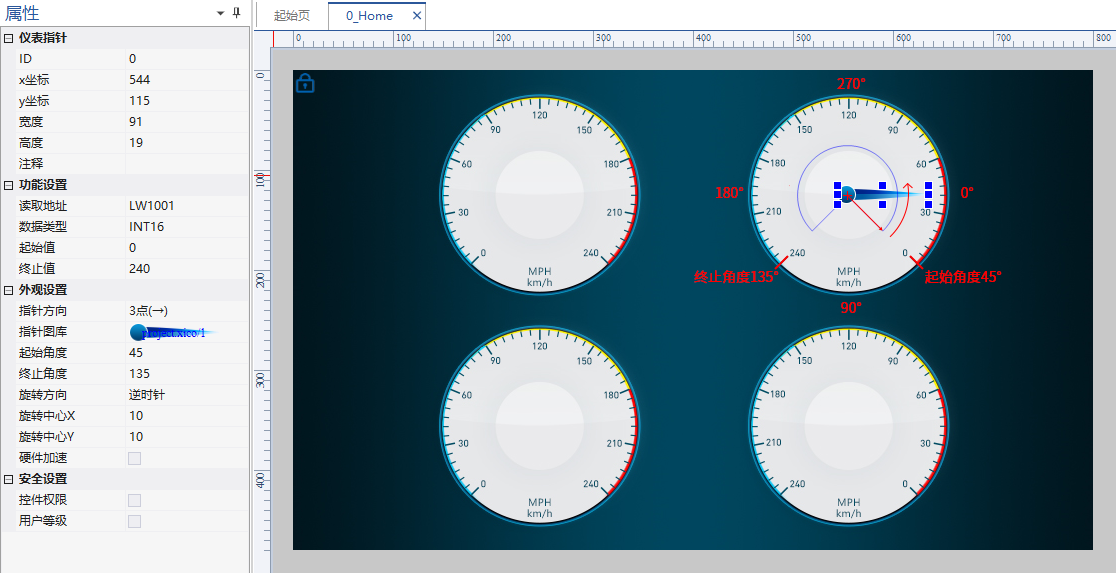
- Pointer Direction: 12 o'clock ↑ / 3 o'clock → / 6 o'clock ↓ / 9 o'clock ← (Design UI recommends following this direction for ease of angle calculation)
- Starting/Ending Angle: Regardless of the rotation direction (clockwise/counterclockwise), the angle calculation is always clockwise. 12 o'clock ↑=0°, 3 o'clock=90°, 6 o'clock=180°, 9 o'clock=270°; clockwise rotation starts at 225 and ends at 135
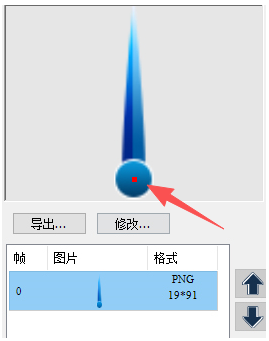
- Rotation Center X/Y: The pointer rotates around this point, with coordinates relative to the top left corner of the image. For example, for a pointer image of 19x91, the rotation point is X=10, Y=81
- Hardware Acceleration: Supported by the Dx series

2. Application Cases
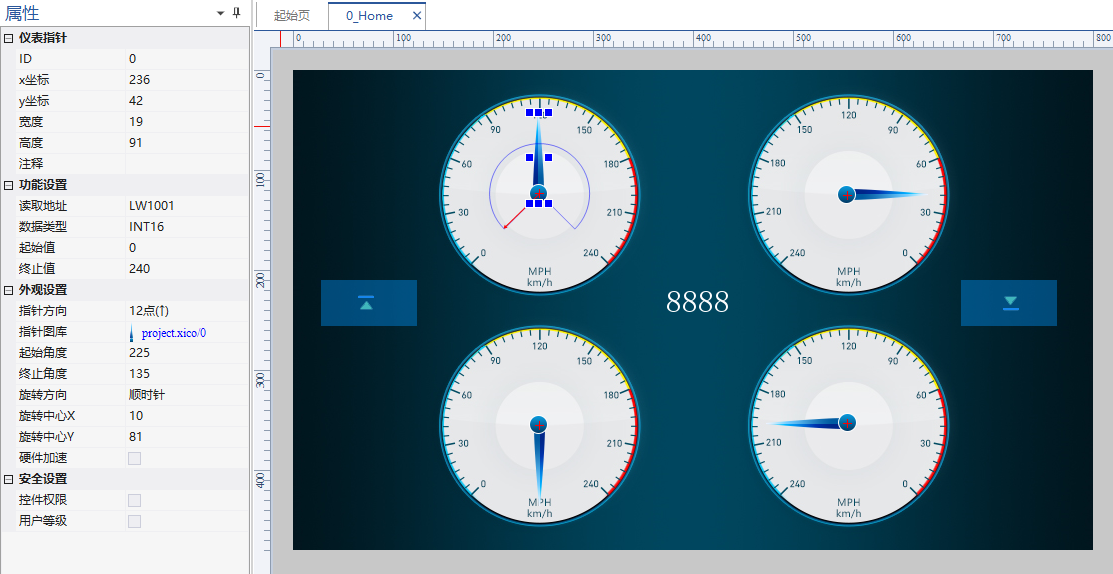
ReadLW1001(INT16), 0~240, pointer direction 12 o'clock ↑, starting angle 225, ending angle 135, rotation direction clockwise, rotation center X=10, Y=81. Equipped with 2 buttons for setting increment/decrement (step size 10, range 0~240, long press 500/100ms) to adjust the value.
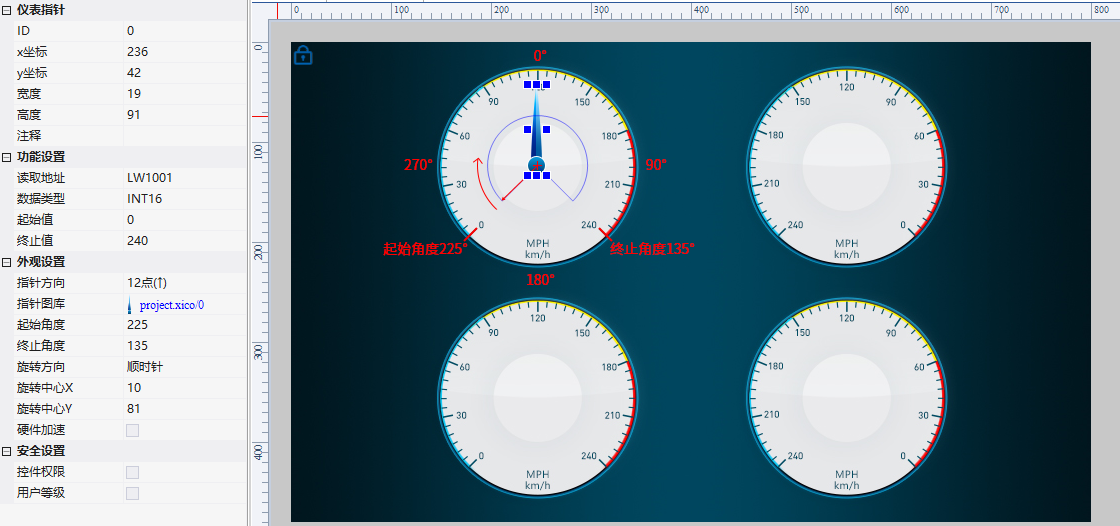
Operation: Click the +/- pointer to refresh in real time, with a value limit of 0~240. The pointer shifts within the range of the dial.
Compiled from the VisualHMI development document of Guangzhou Dacai Technology (hmi-doc.gz-dc.com), the configuration control tutorial "Instrument Pointer", copyright reserved by Dacai Technology.


Leave a Reply